DIY: Waterfall Card tutorial

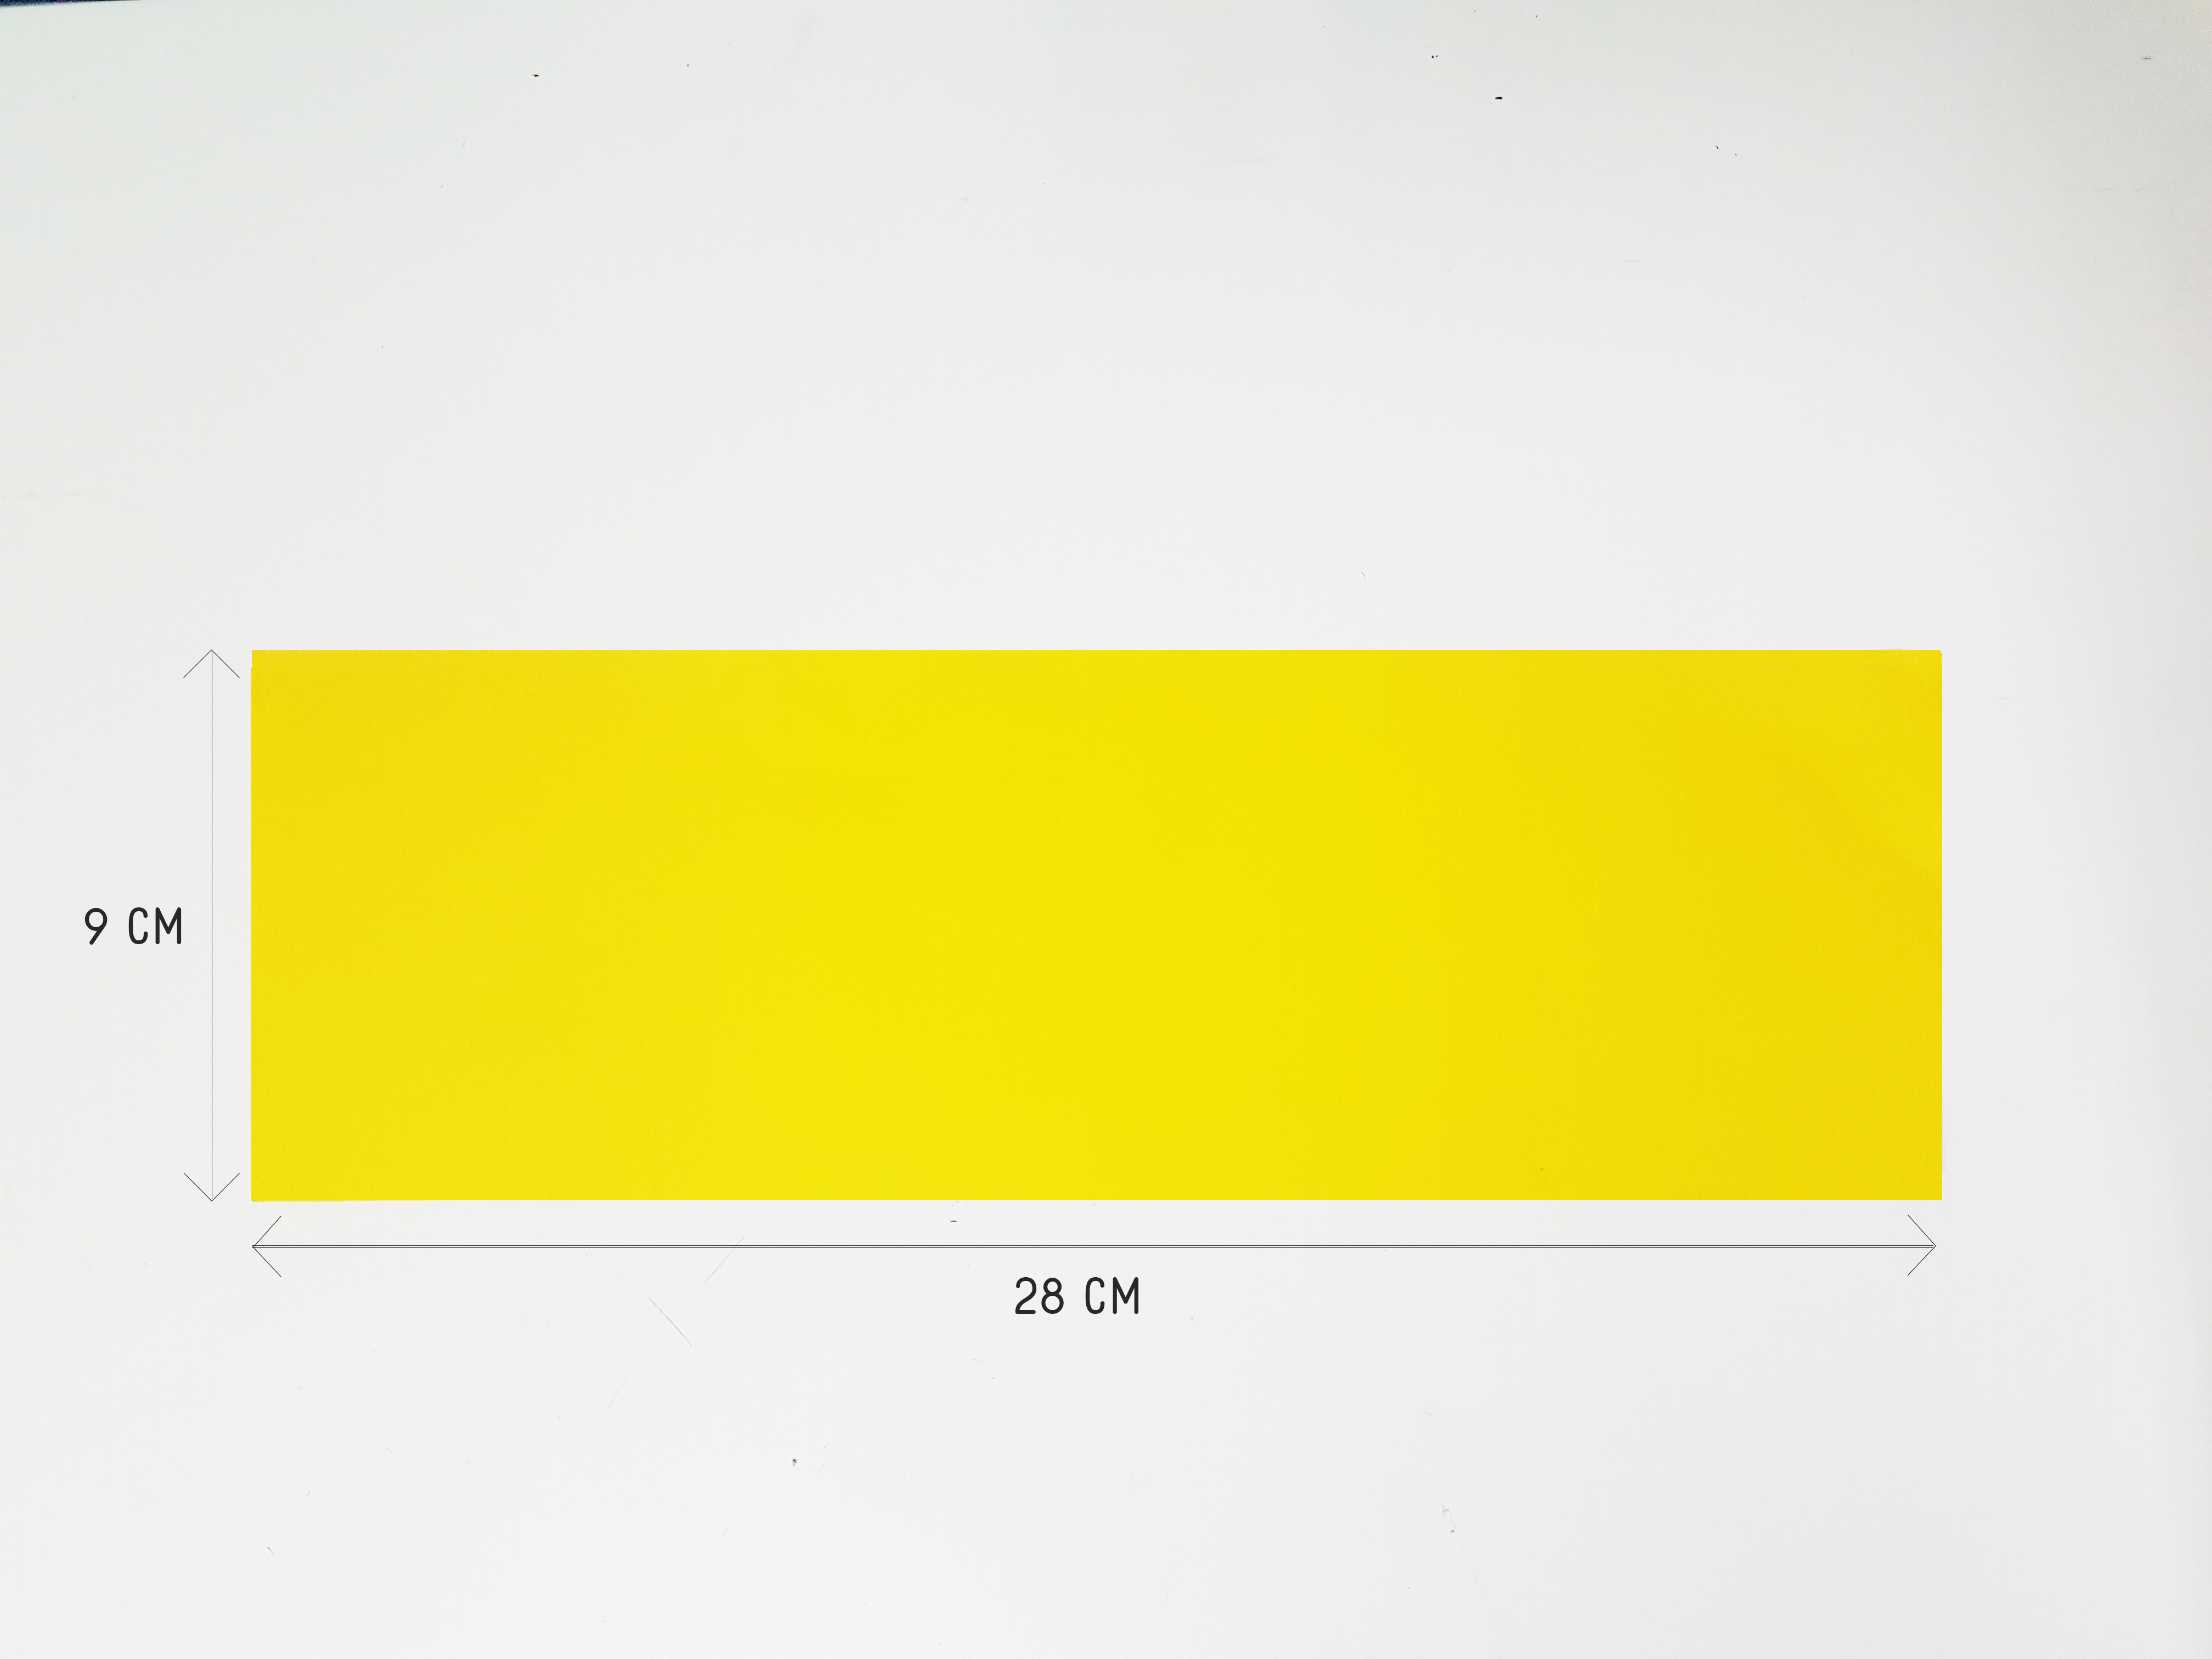
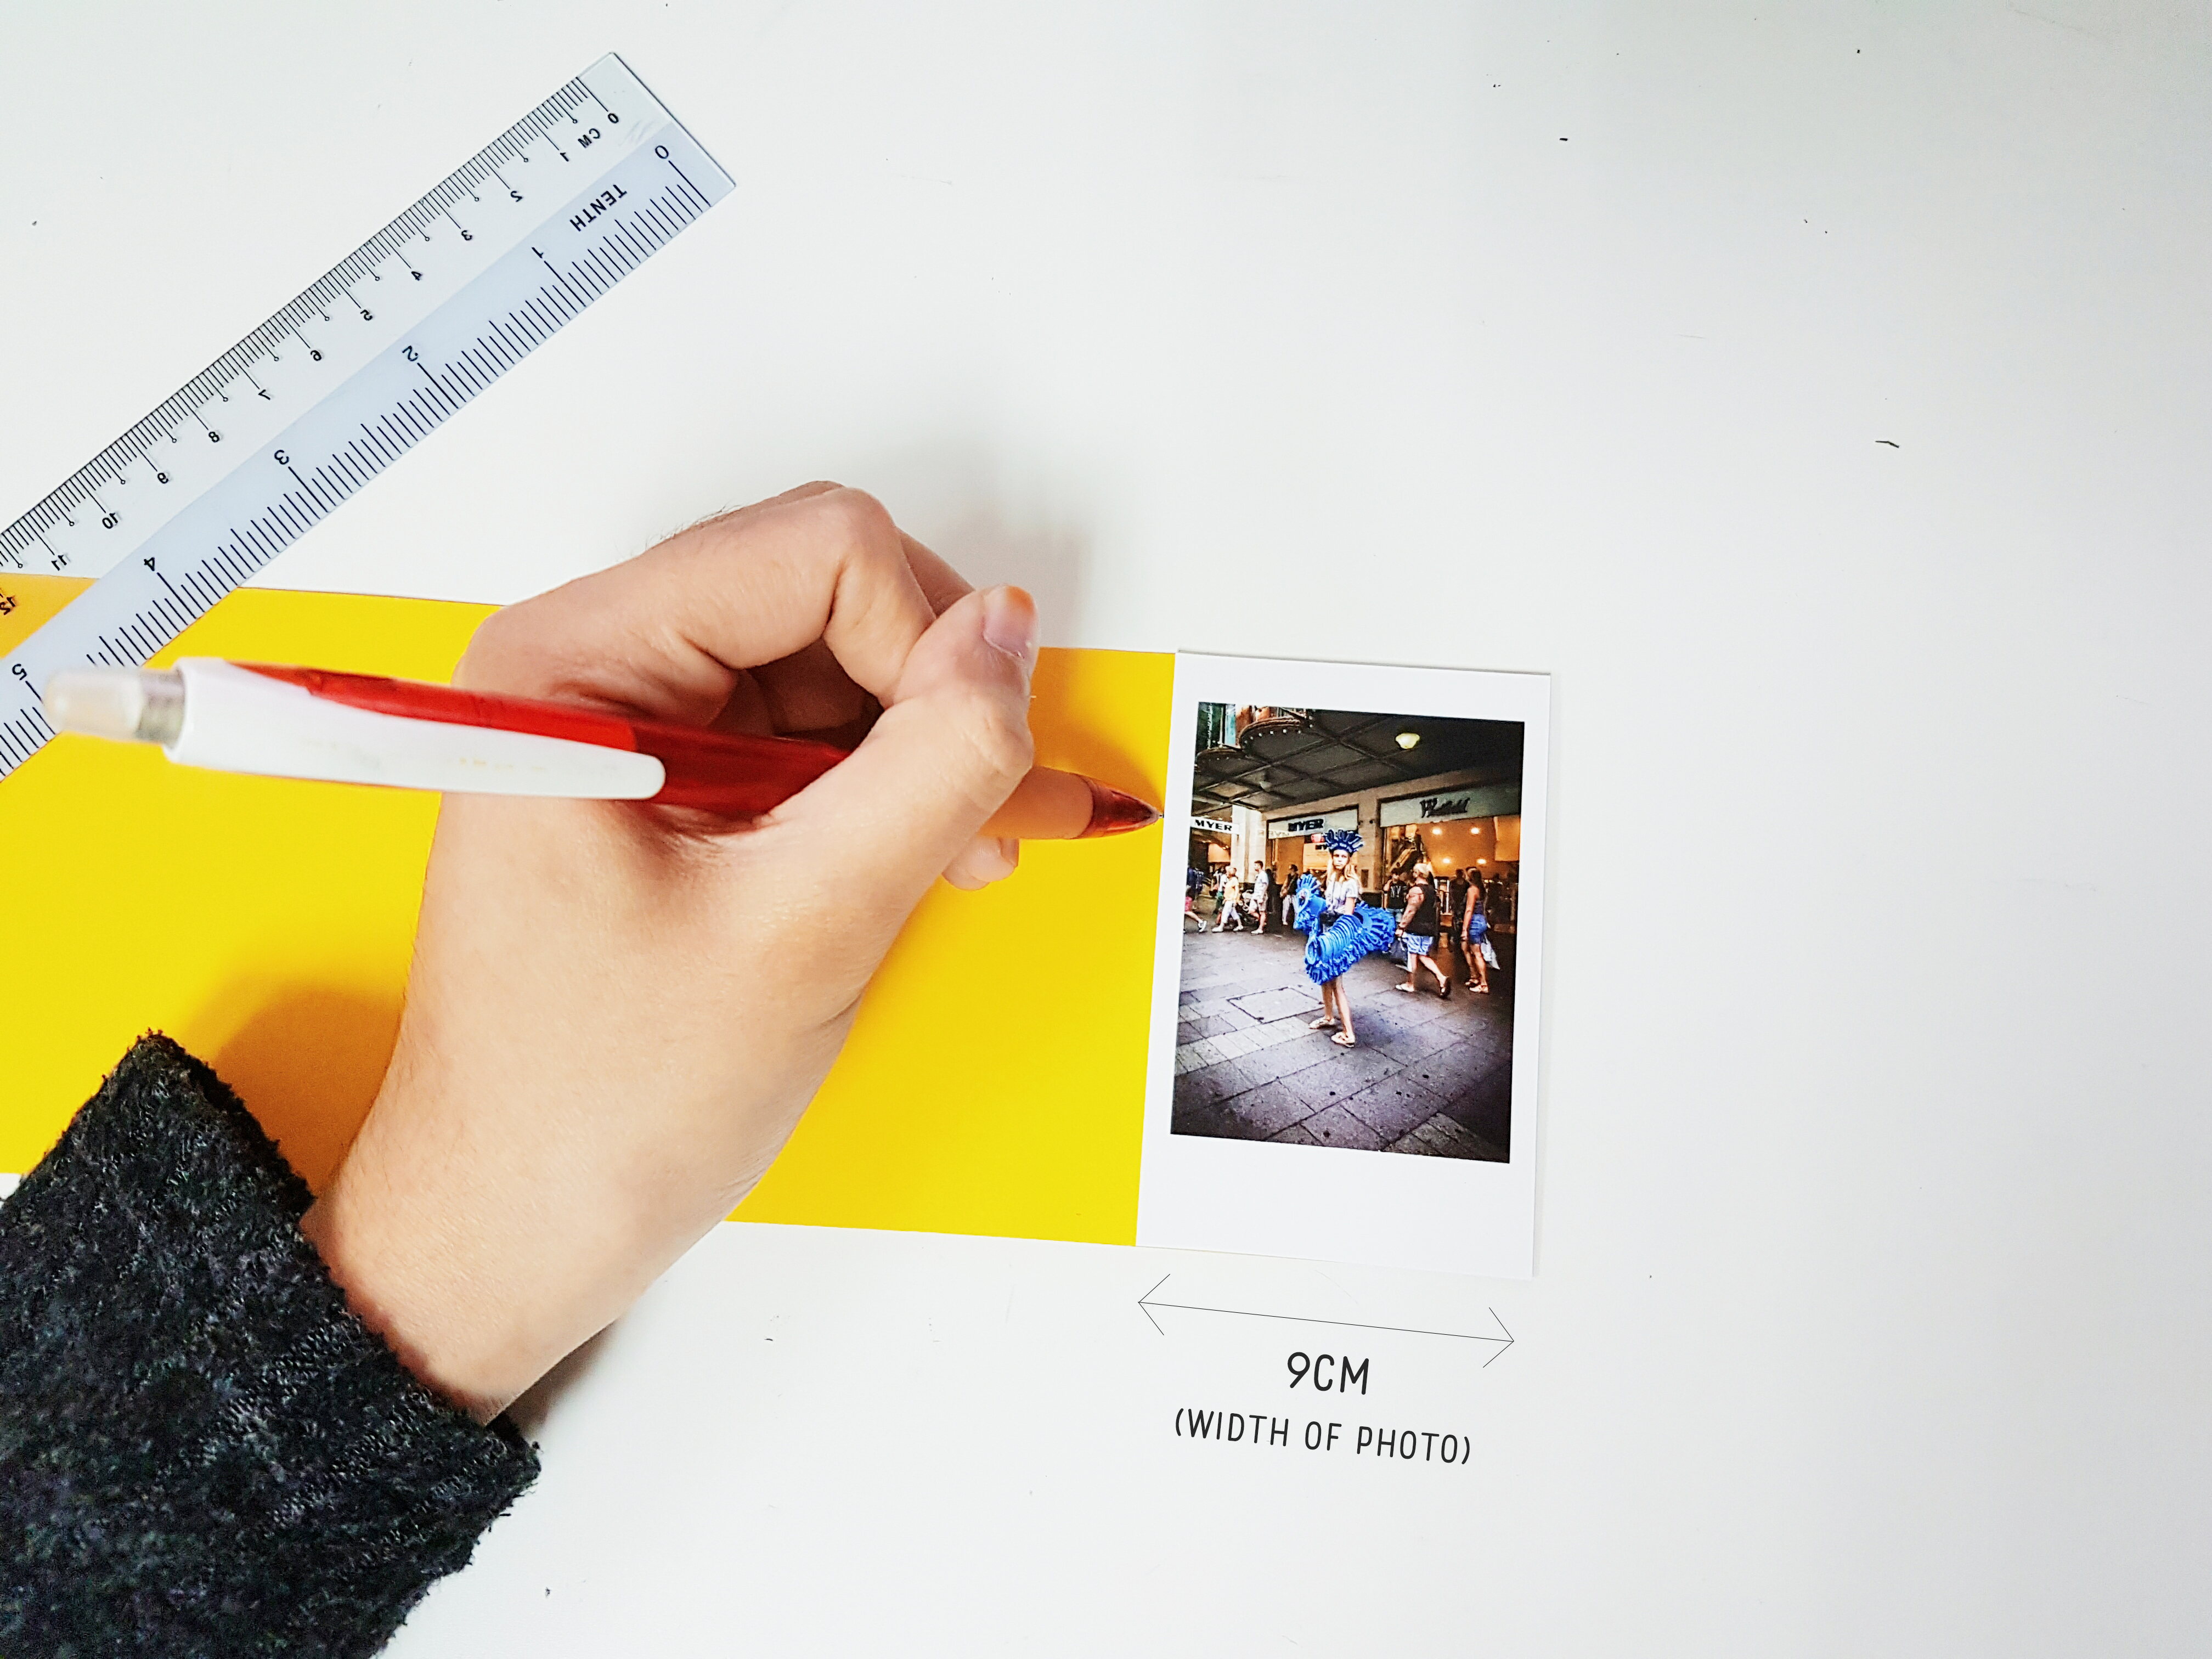
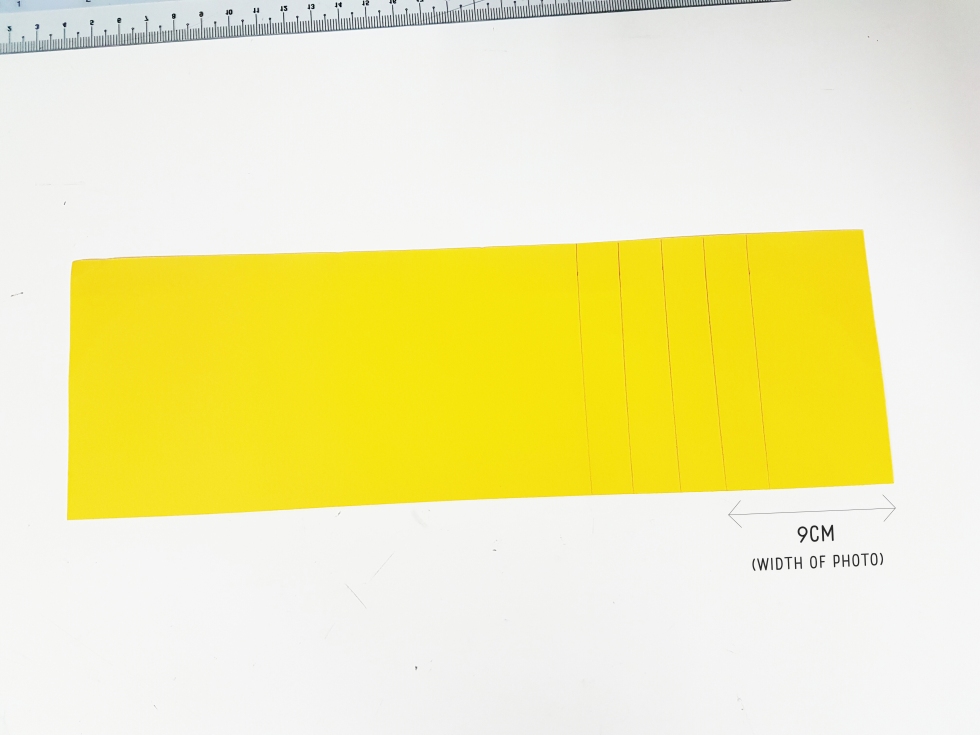
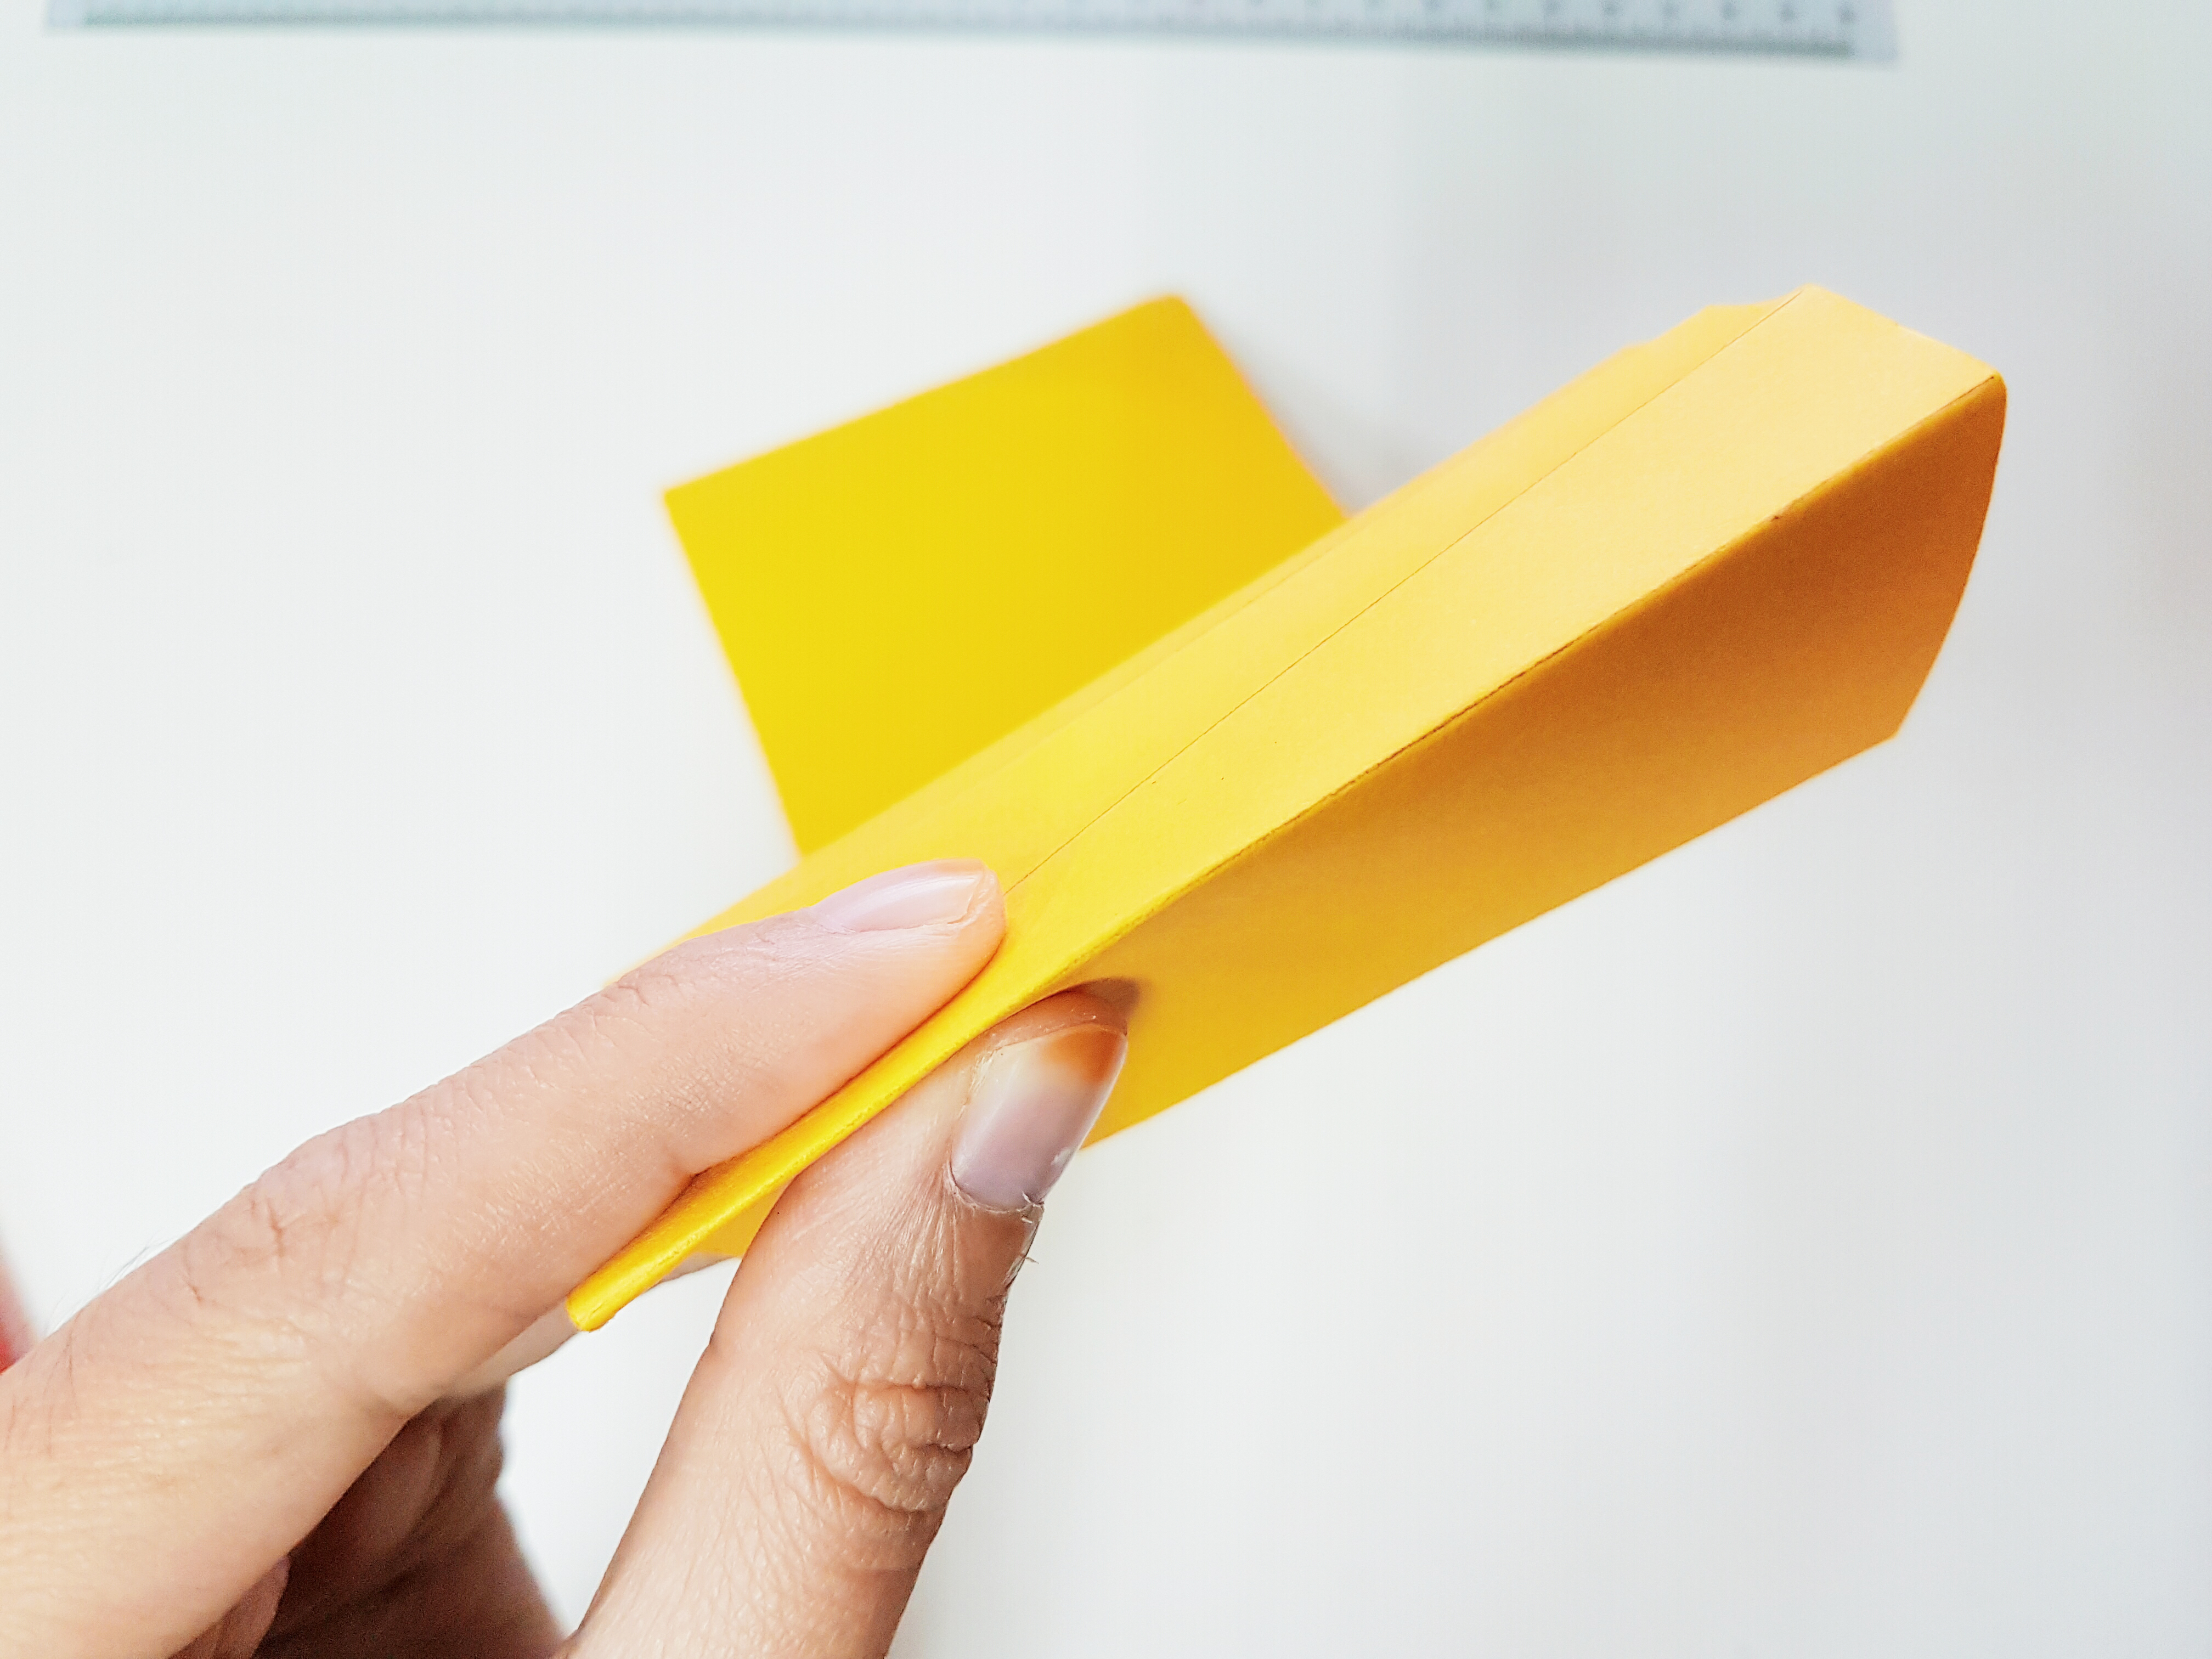
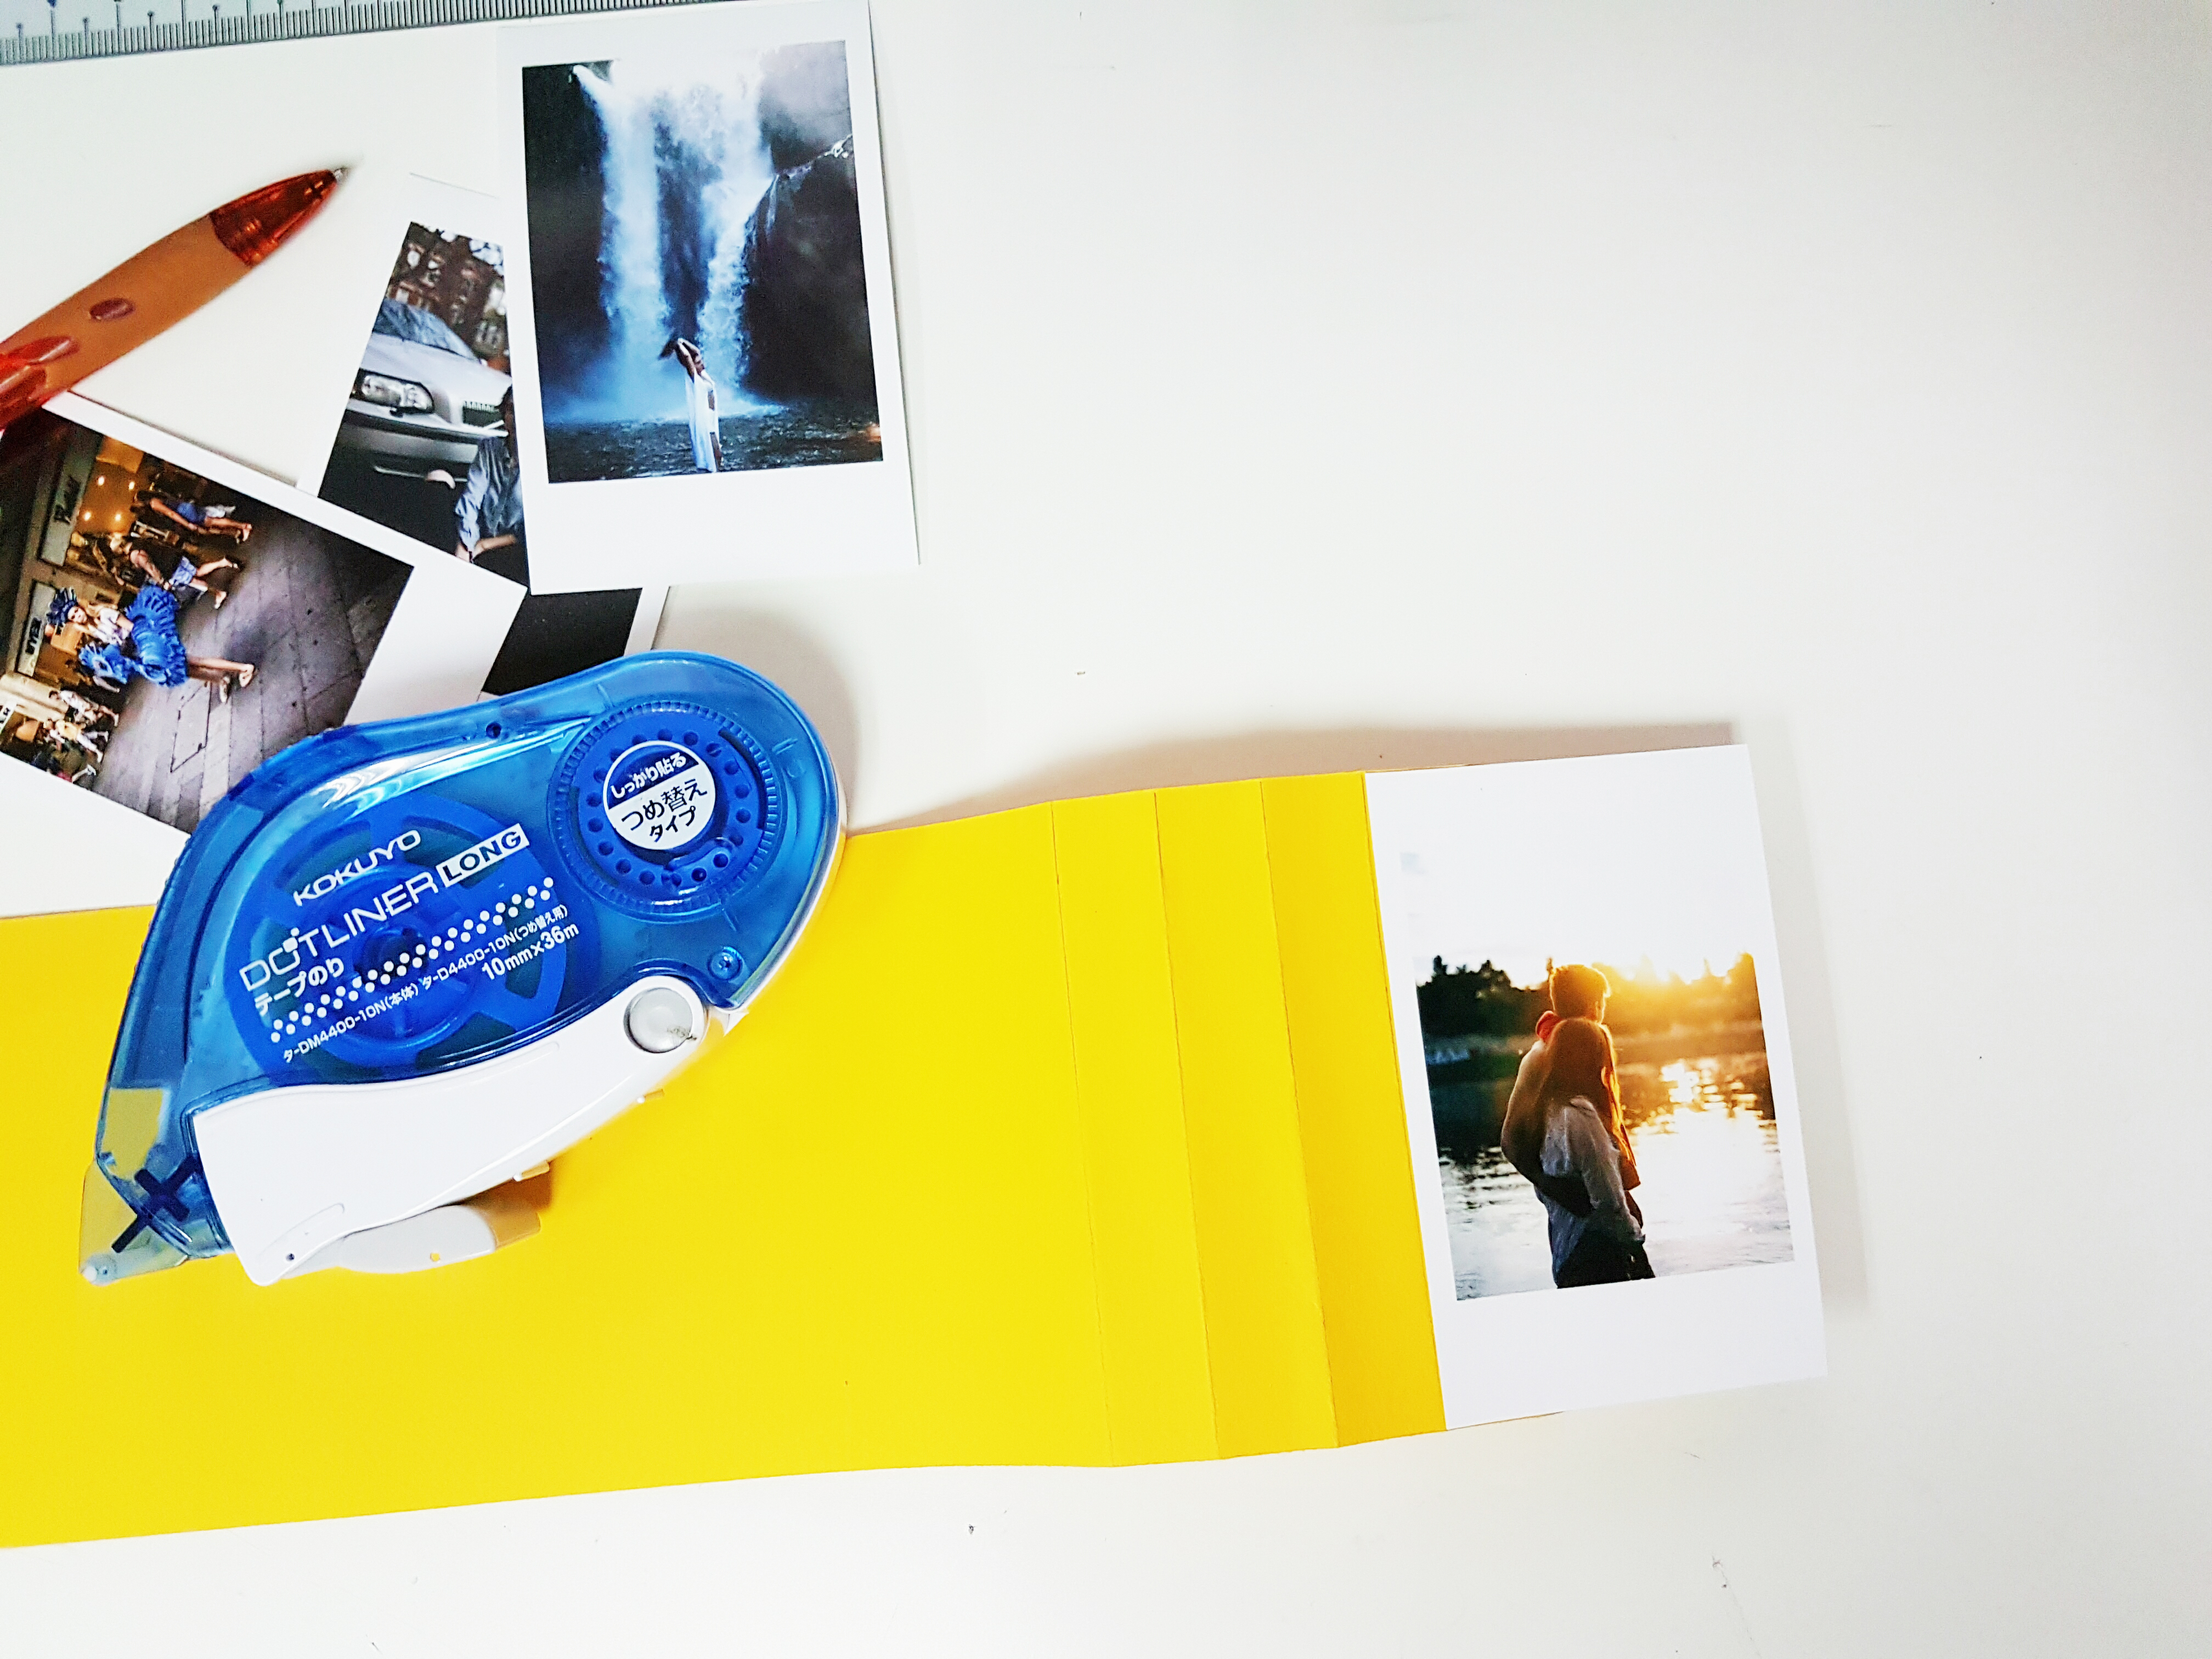
We’ve recently posted a video of the DIY waterfall card we made with our small vintage prints on our instagram, and we received quite a number of request from our followers on how to make them.

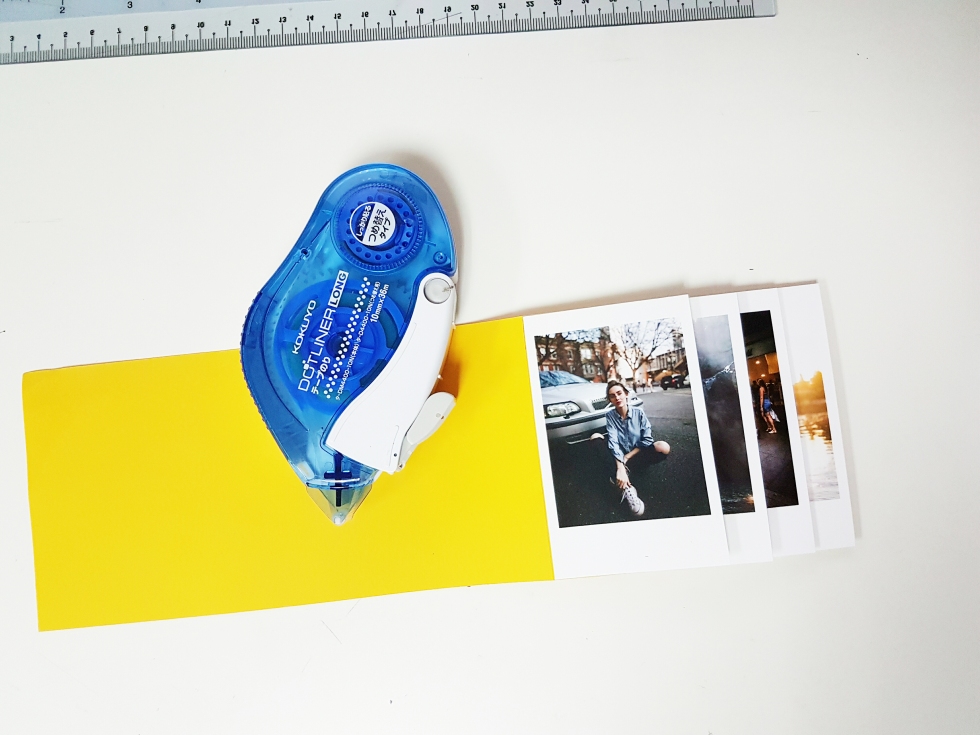
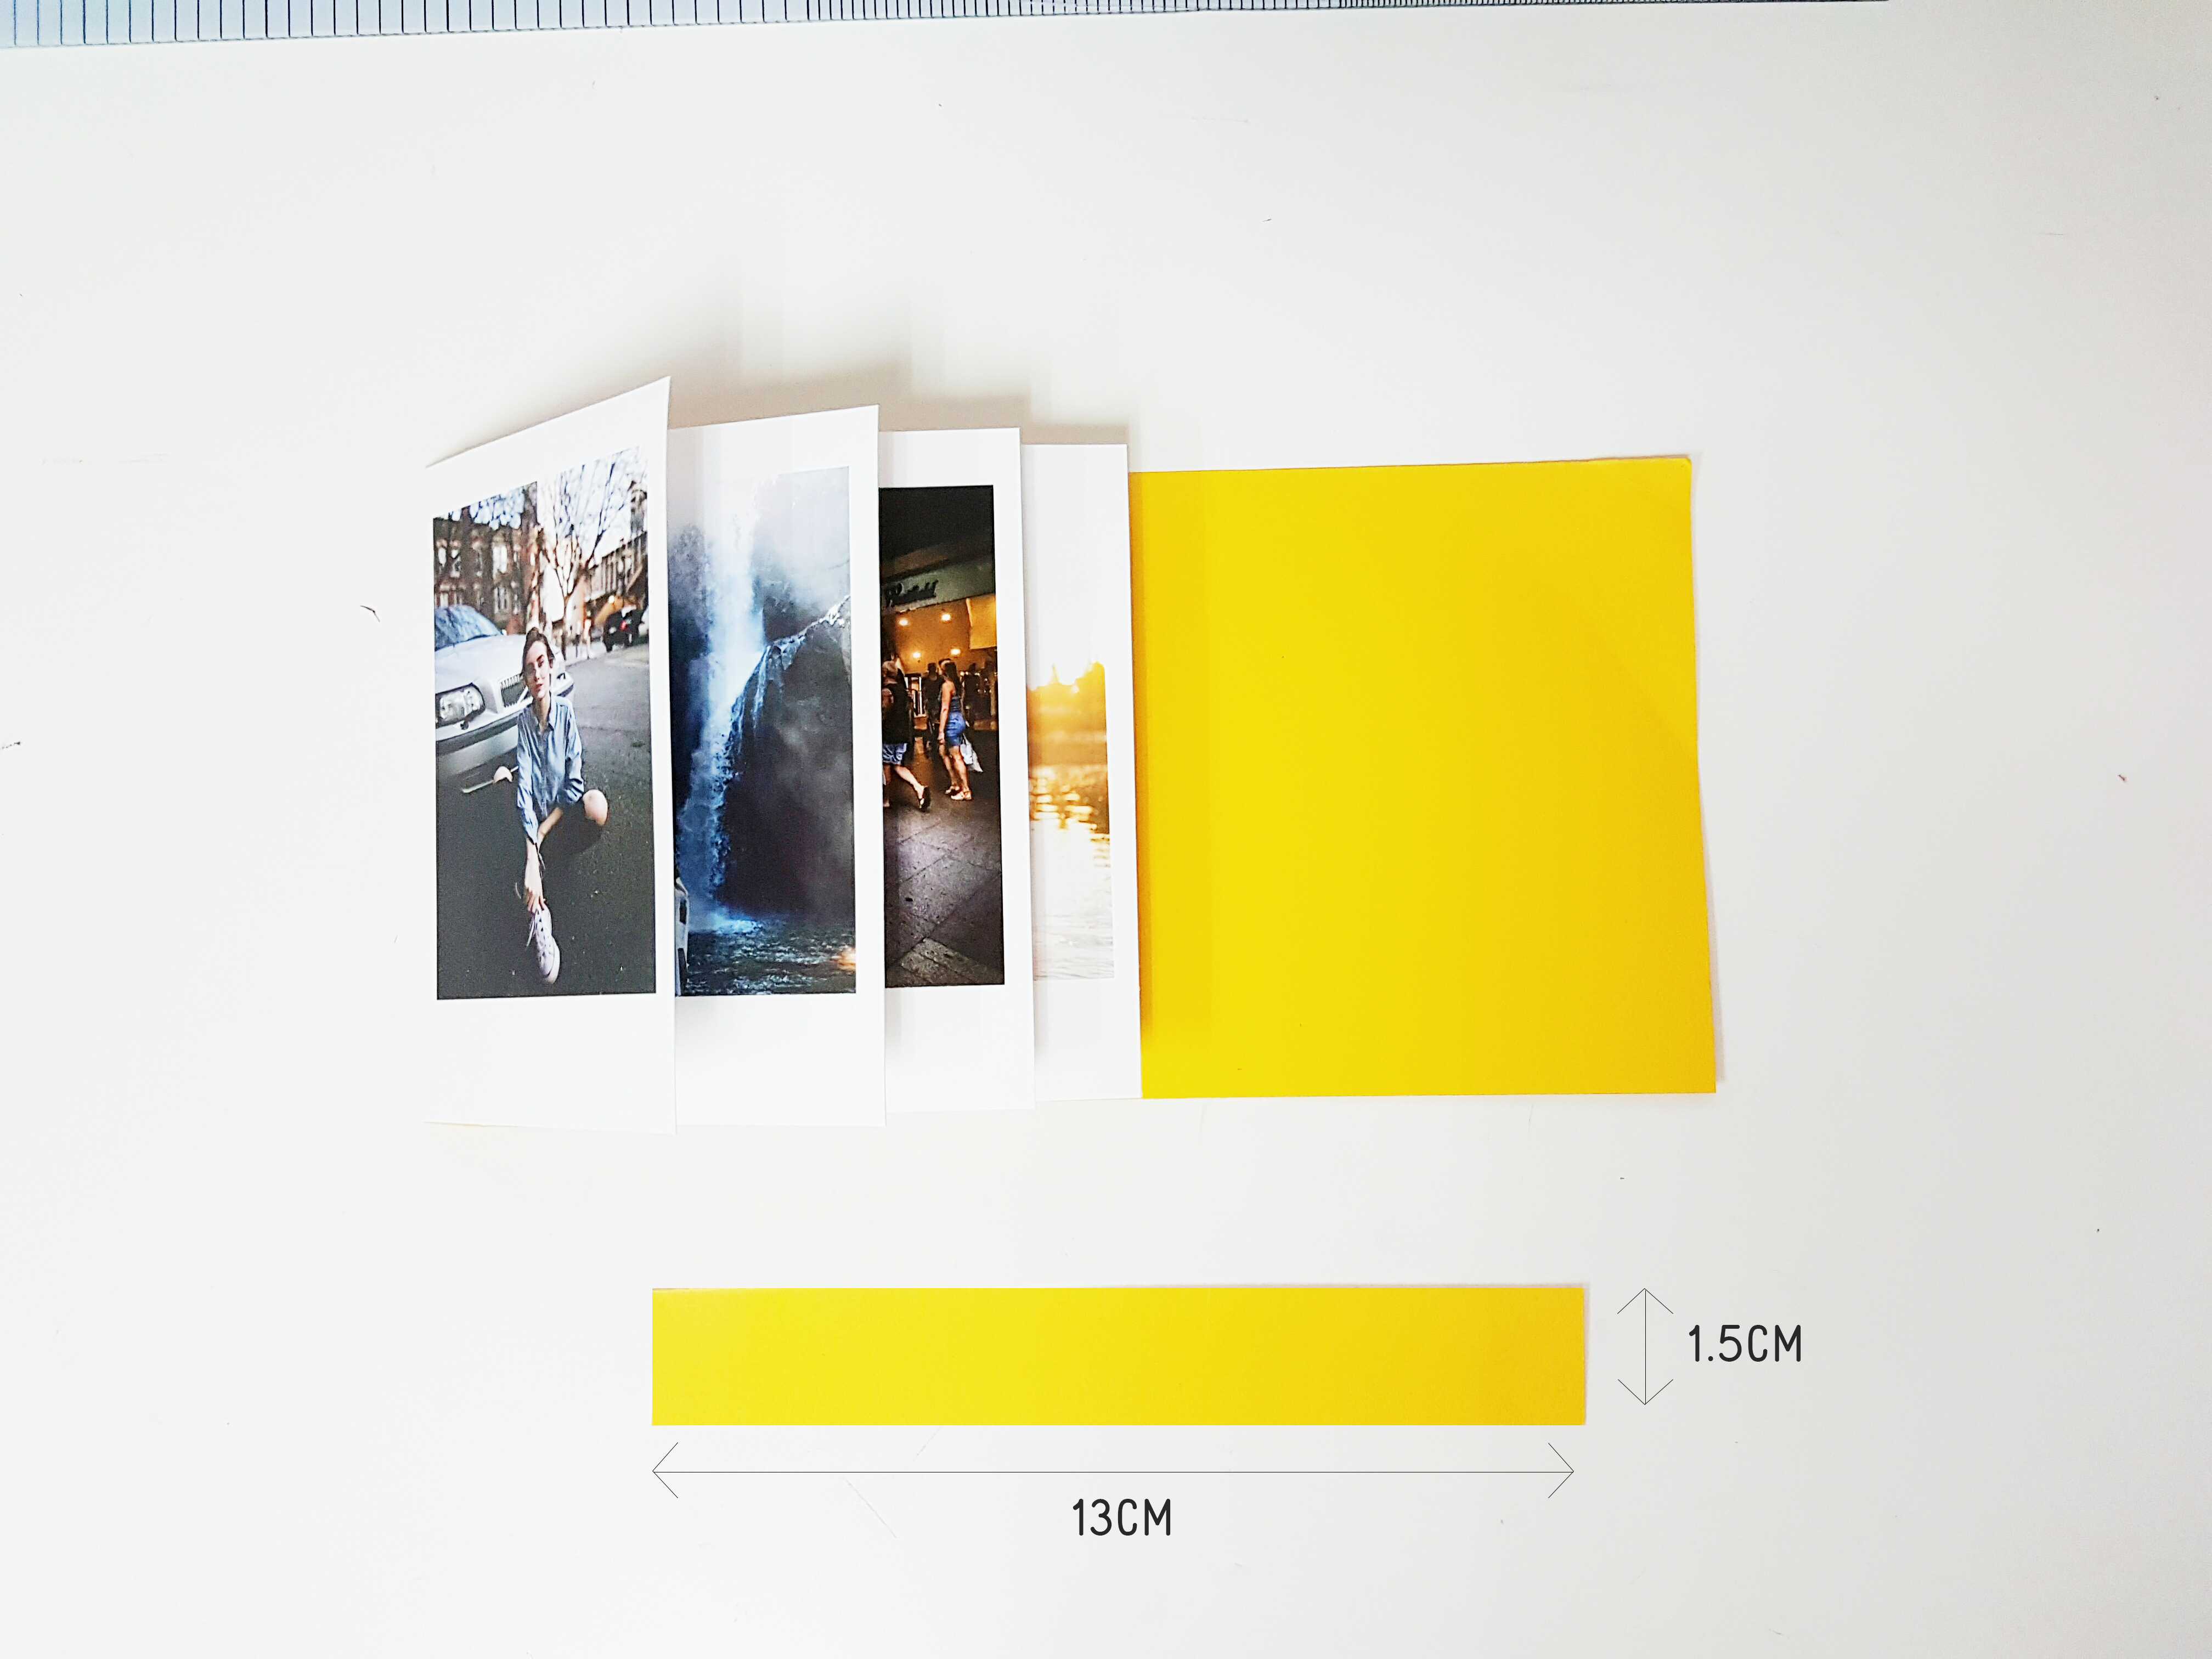
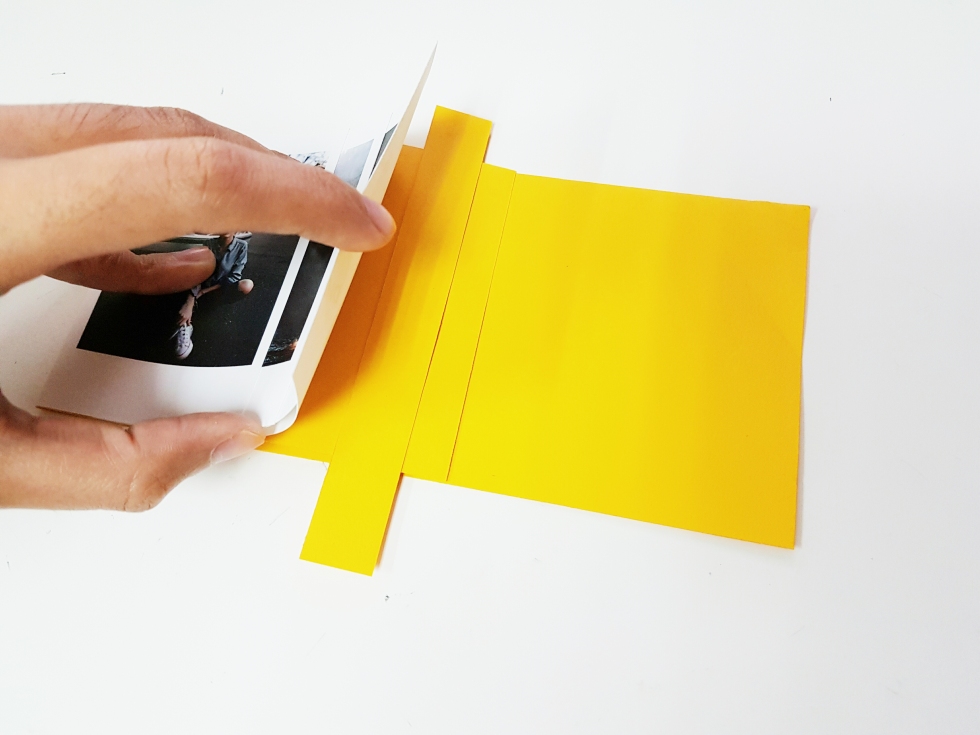
Here, we’ve made a simple tutorial for those who are interested in making the waterfall card yourself:

Processed with VSCO
1. Take an A4 card and cut according to the measurements above

Processed with VSCO
2. Place the photo on the right end of the panel and draw a line

Processed with VSCO
3. Draw 5 lines at a gap of 1.5cm each

Processed with VSCO
4. Fold the card on each lines

Processed with VSCO
5. Put glue or double-sided tape in between the first and second line and stick a photo on it

Processed with VSCO
6. Do the same for the rest of the photos

Processed with VSCO
7. Cut out a strip according to the measurements above

Processed with VSCO
8. Place the strip in between the first photo and the top flap

Processed with VSCO
9. You can put double-sided tape or glue on the 2 flaps and stick it to any card

Processed with VSCO
The end product should look something like this. You can also design it in any way that you want.

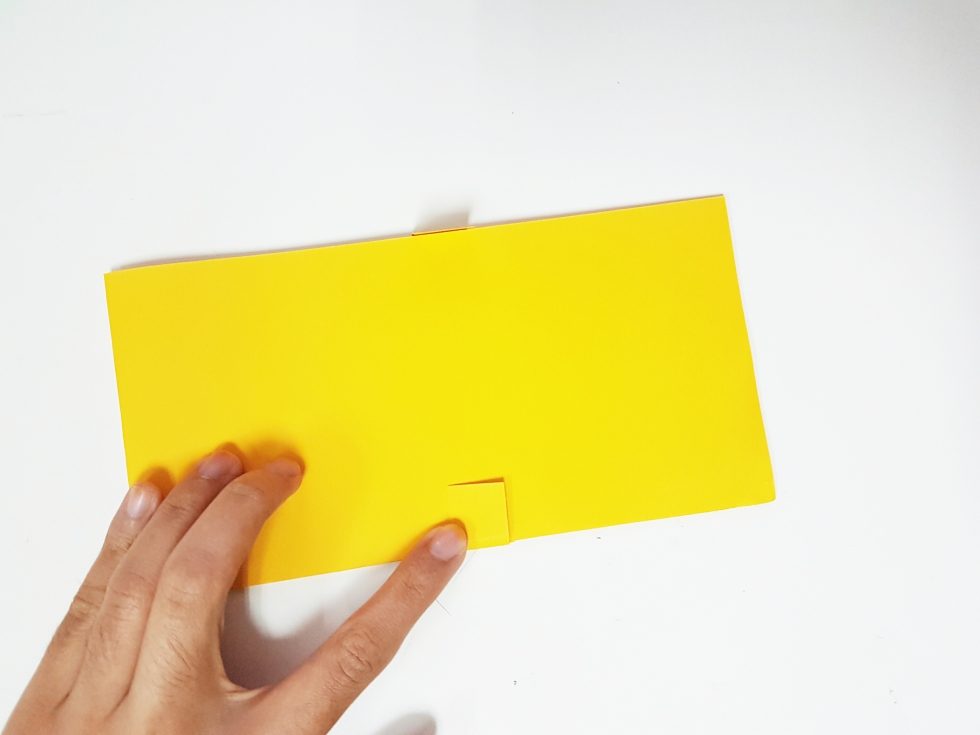
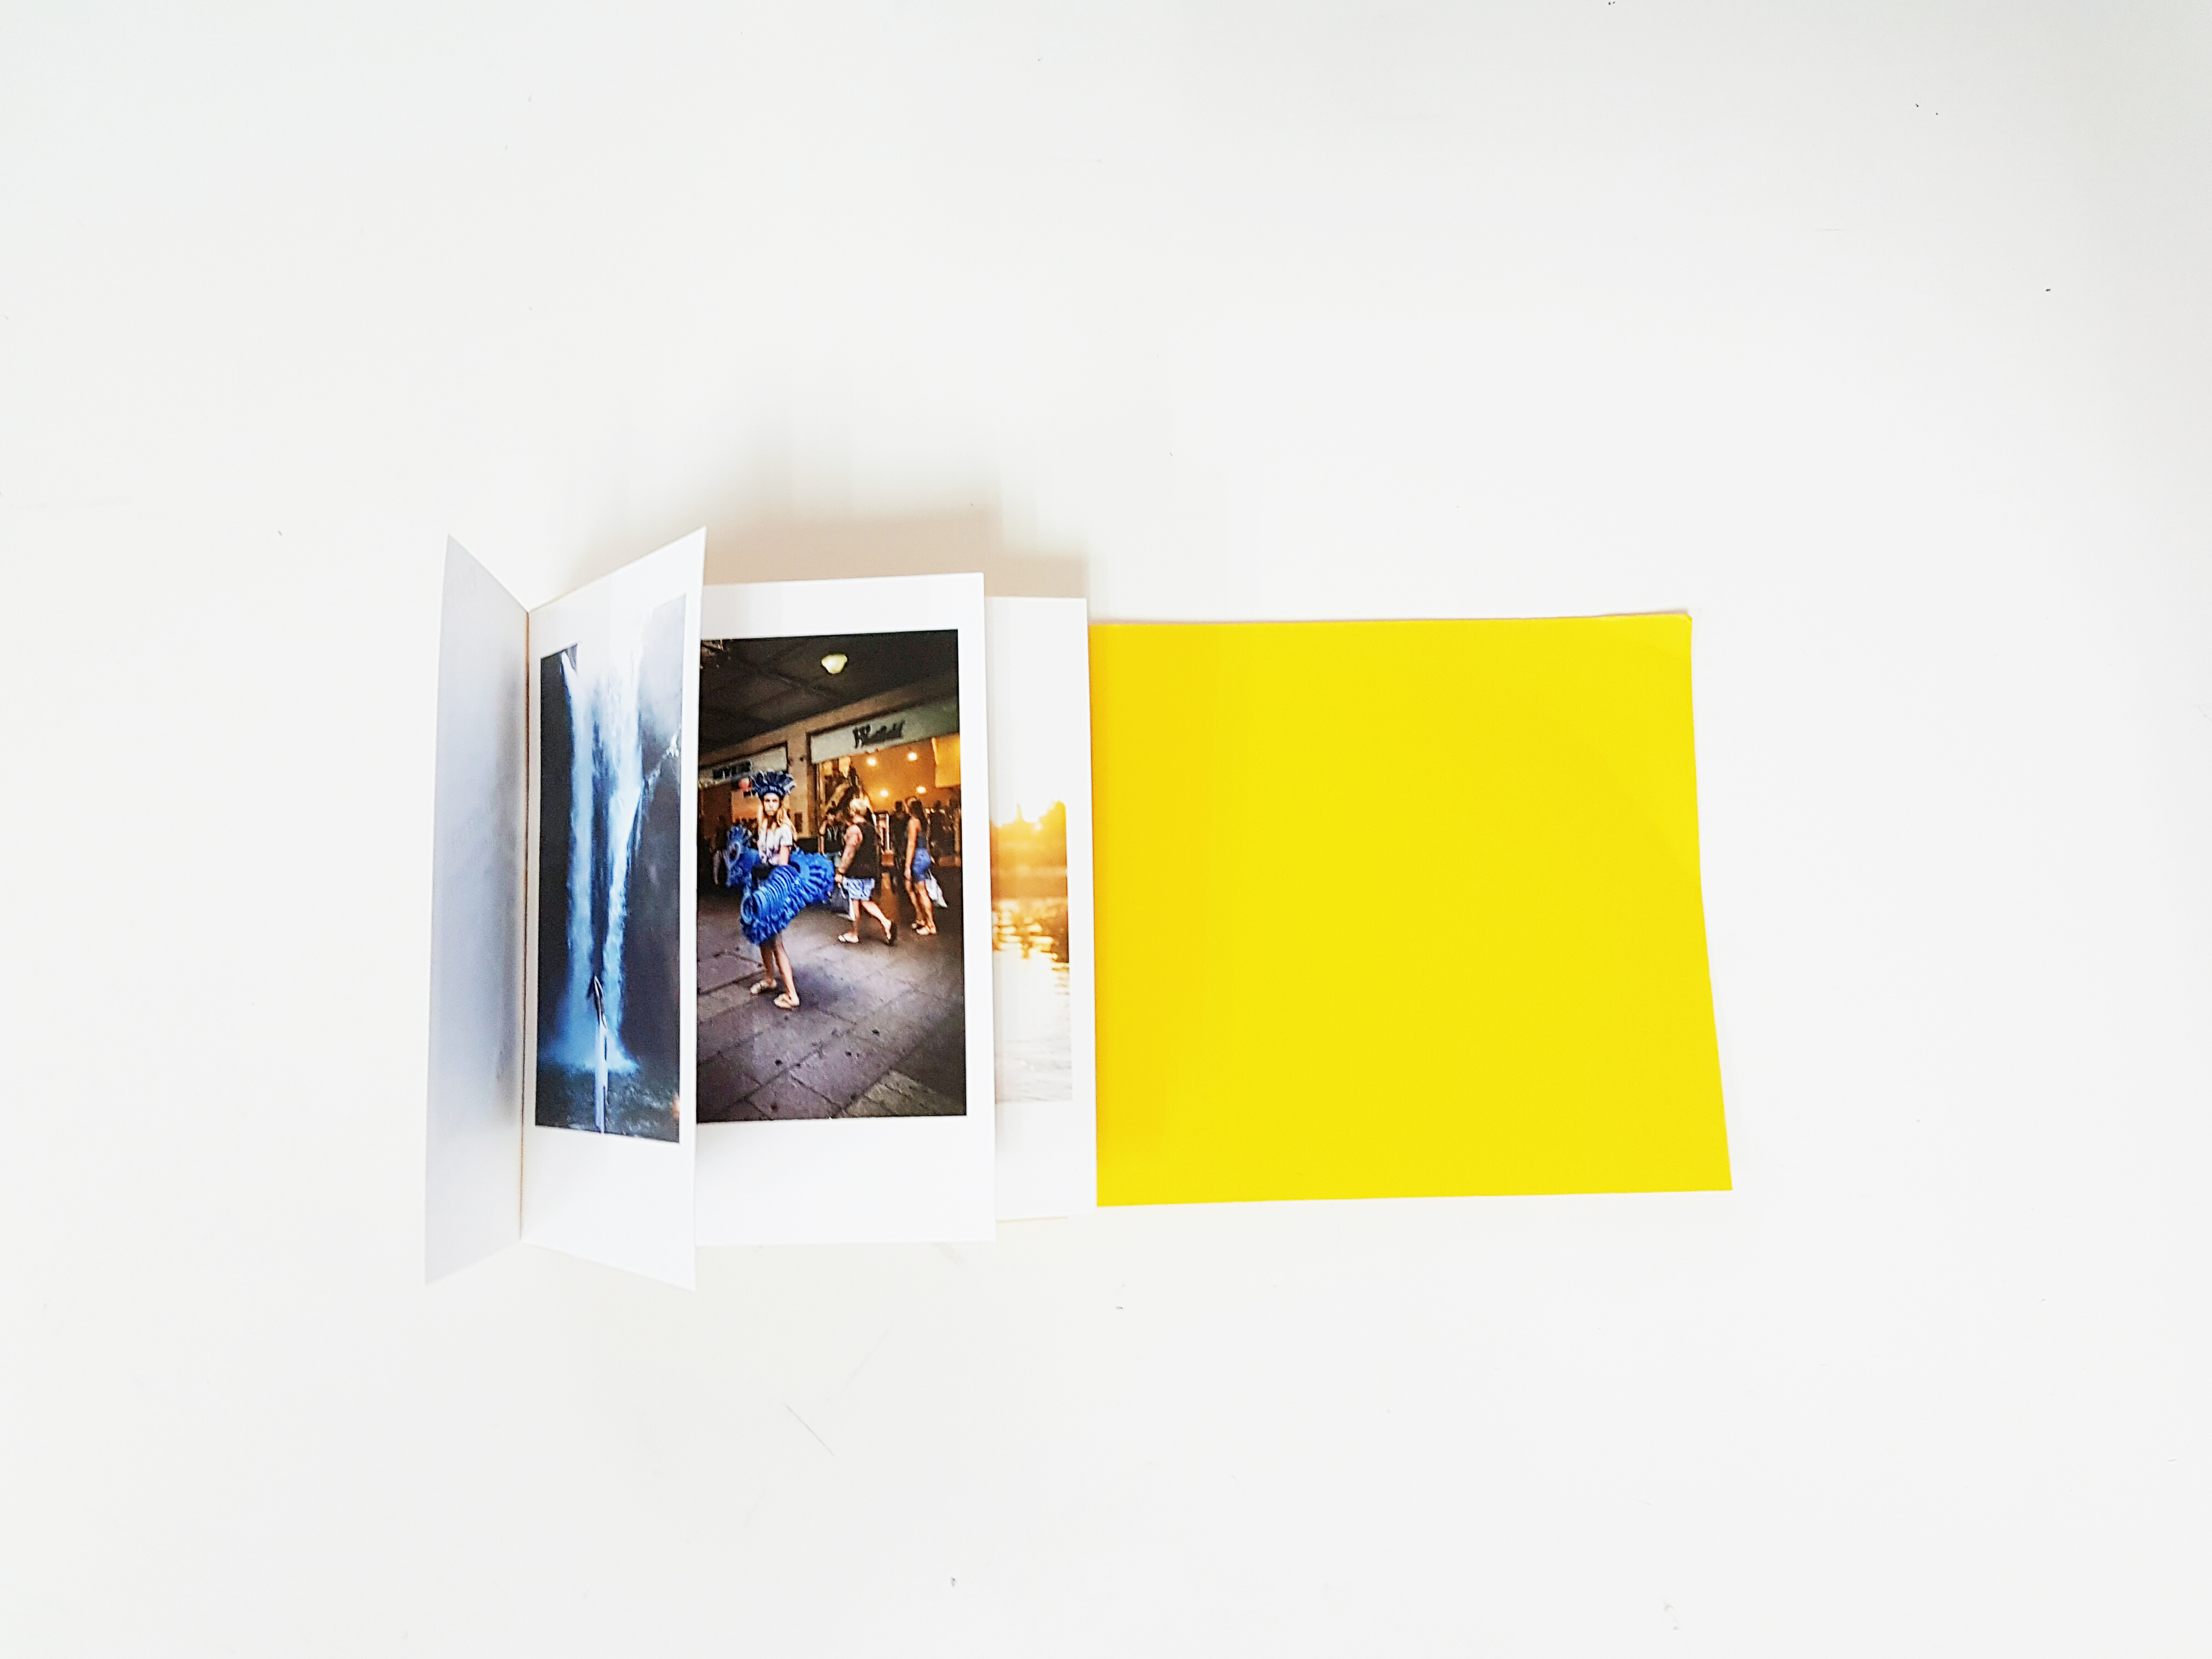
There you have it! 9 easy steps to making your own waterfall card! You can even tell your story in a fun and creative way with this DIY. Below are some other examples from other crafters:

Source: Pinterest
Source: Pinterest

Time to get your creative juices flowing and unleash your inner artist!

So if you want to start by printing your small vintage (polaroid look-alikes), you can head over to this link. Happy crafting!