It has been a while since we did a DIY. So in today’s blog post, we’ll be doing a DIY on making a “lenticular” card. Just a little information on “lenticular” card: It is where you will see 2 different images at 2 different angles respectively. Not to worry, it’s not complicated. Get your DIY stuff ready and let’s begin!
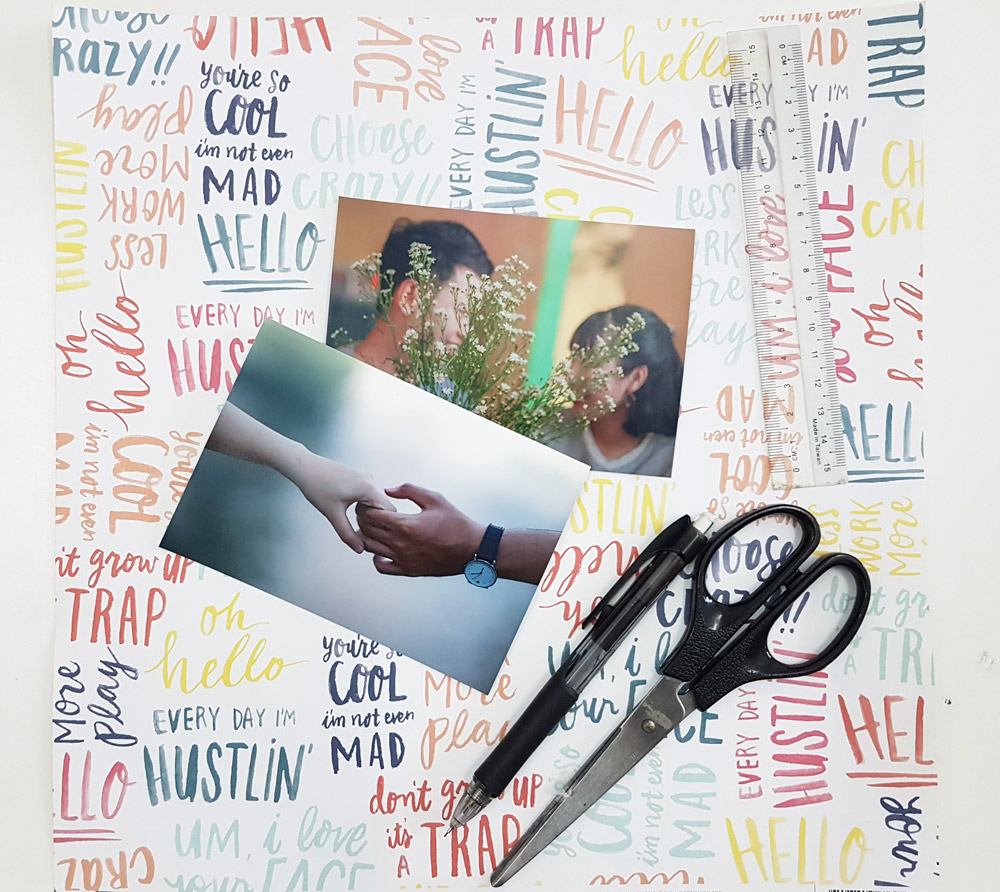
The things that we need:
- 2 photos (Note: I used 3R sizes for both photos)
- One scrapbook/construction paper (Note: I would be using scrapbook paper for this DIY)
- Glue
- Scissors
- Ruler
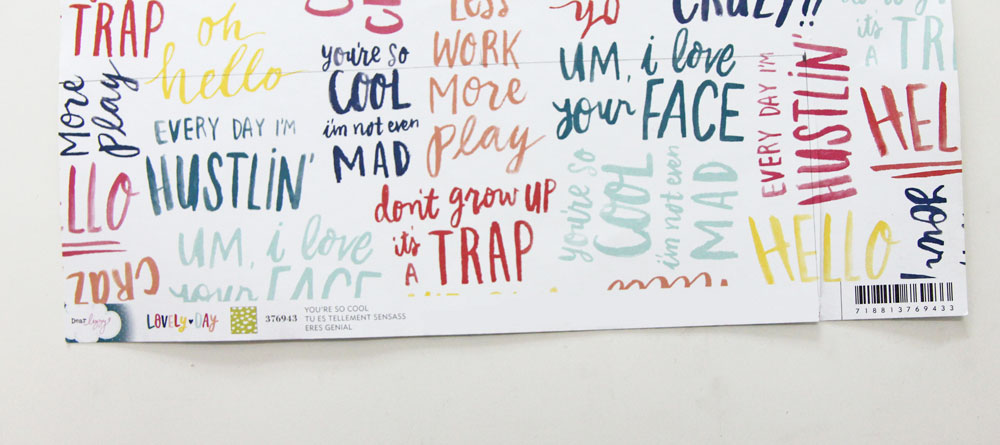
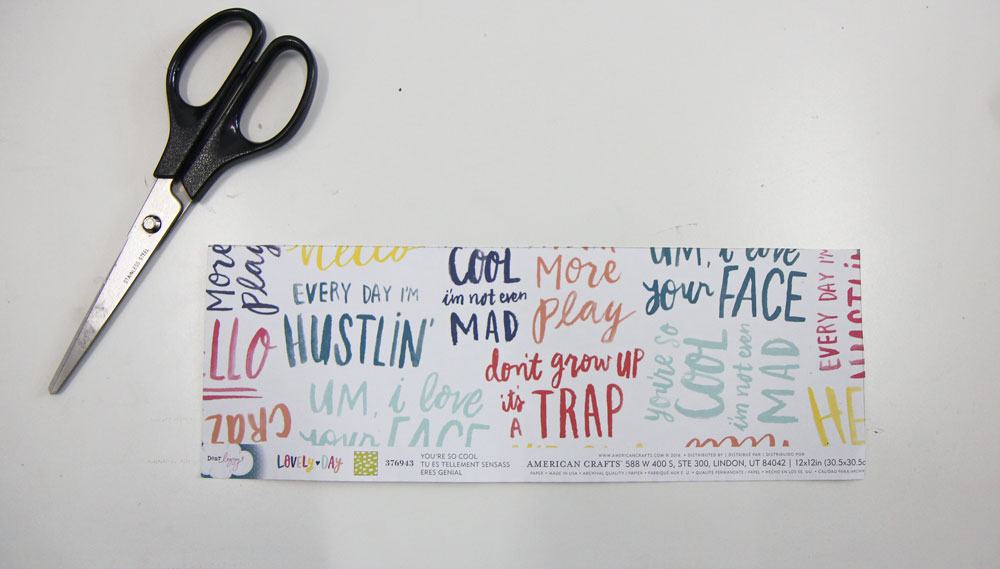
First, measure the length and width of both images. Then mark both the width of 1 image and the total length of both images onto the scrapbook paper. Then cut along the lines using scissors.
Next, mark a point at every 1cm of the back of a photo. Then draw a line down as shown below.
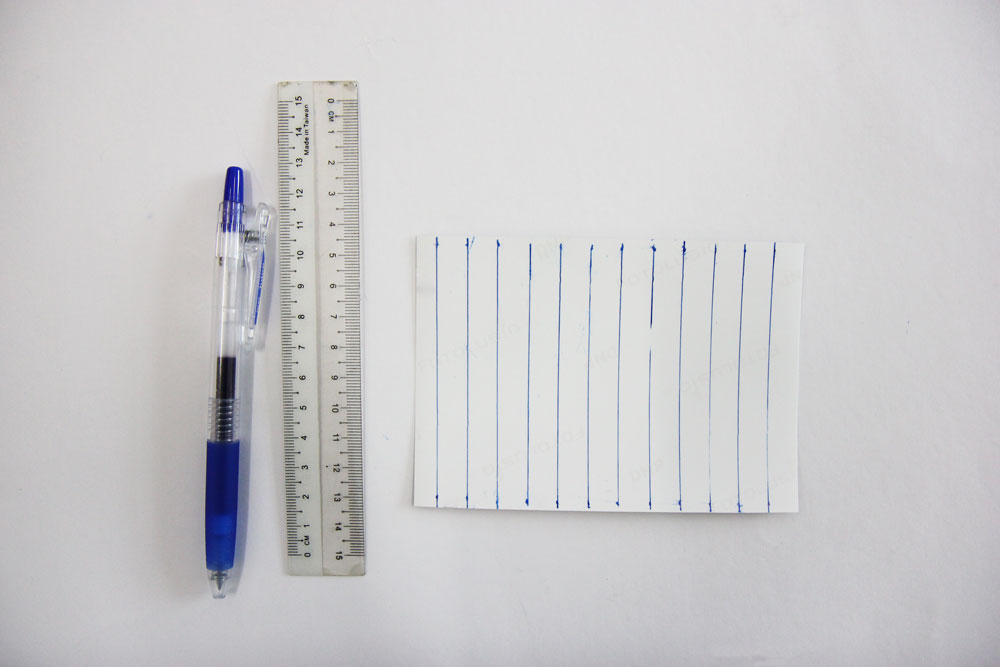
Number them as shown below. Cut along the lines and do the same for the second photo. Avoid messing these two up as it could get very confusing.

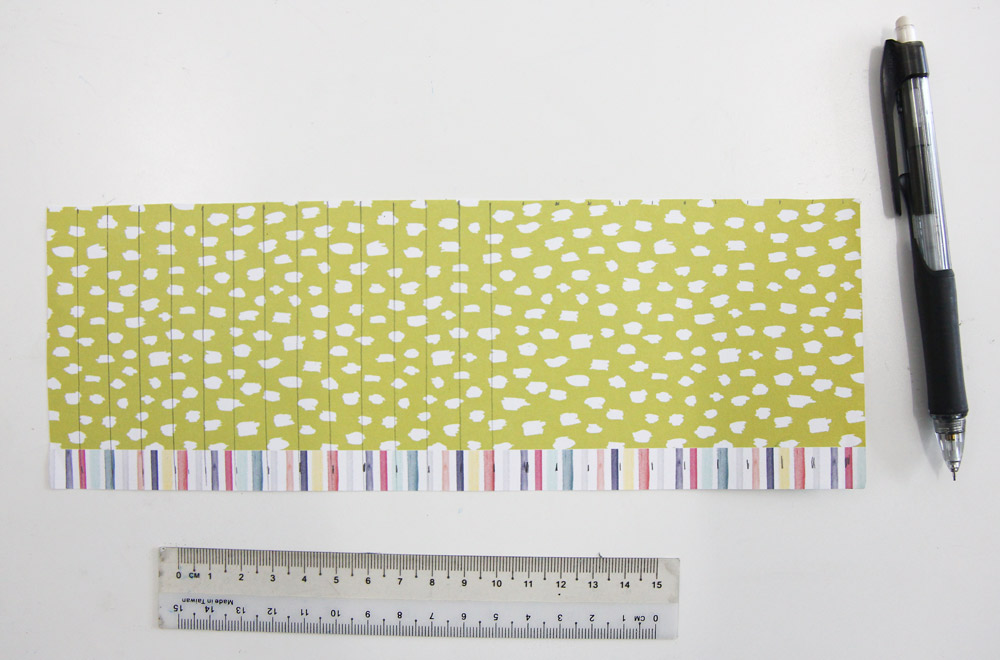
Let’s get back to the cut-out scrapbook paper. Mark a point every 1 cm just like we previously did for the two photos.
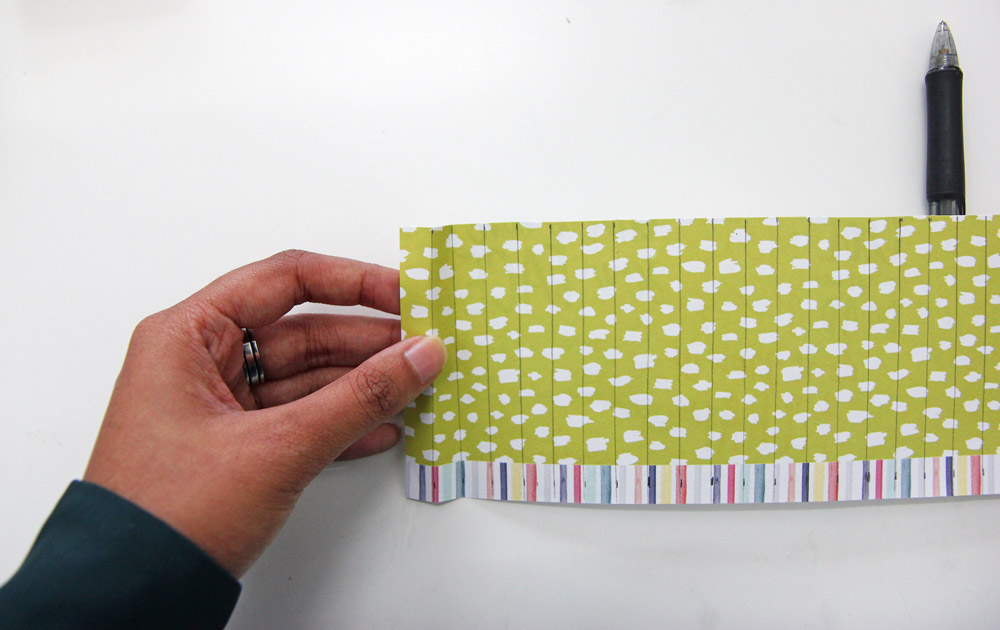
Fold the first one back and the second part forward. It should look like the image below:

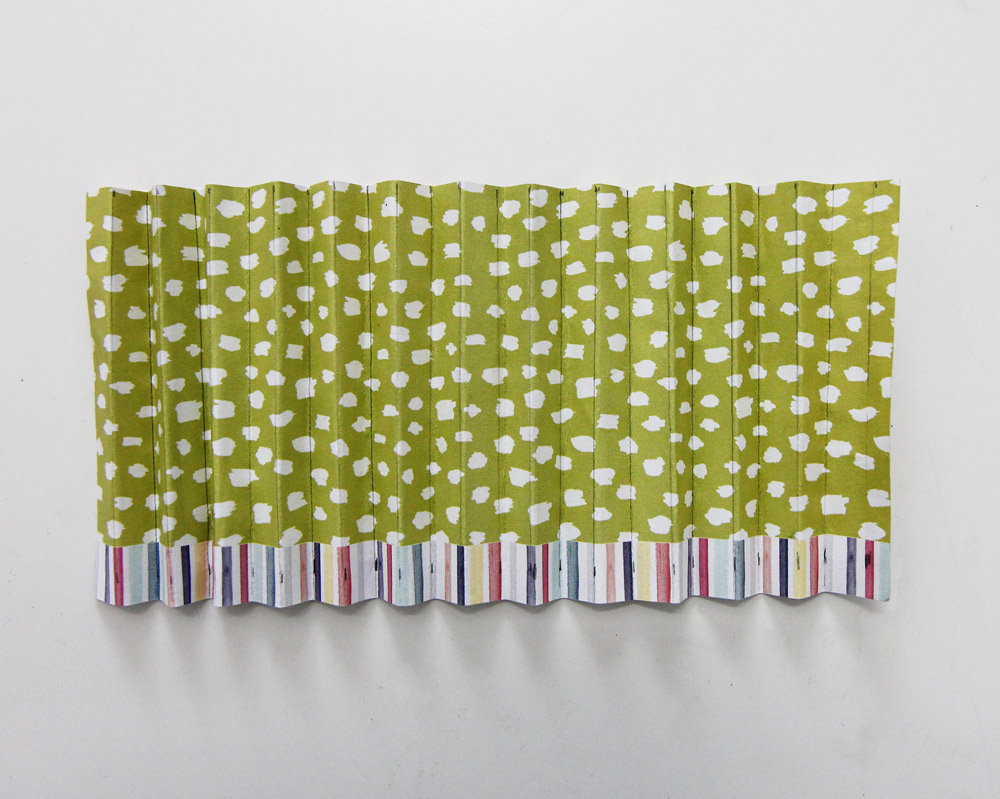
Do the same for the remaining paper and it should look like the image below:
Take the image labelled 1 of the first image and paste it on the first part of the folded scrapbook paper. Do the same for the second image. Below is an example:

Repeat with the other number photos (Note: I will not be using the 13th part of the images). Cut out any excess of the scrapbook paper and discard any leftover or unused part of the image.

Next, we are going to make a backing for it. Grab the scrapbook paper and place the lenticular photo on top. Measure 0.5cm outwards from all sides of the lenticular photo and mark it. After that, match the marks and glue the lenticular photo on it.


Here is the illusion:

Ta-dah! Your very own lenticular card! You can try this to impress your friends or if you want to try something creative with your existing photos.
Have fun trying! Ta-ta for now! 🙂
You must be logged in to post a comment.